DIY Wedding Welcome Signs: Easy Calligraphy Tips for Stunning Displays
“People will forget what you said, but they will never forget how you made them feel.” — Maya Angelou
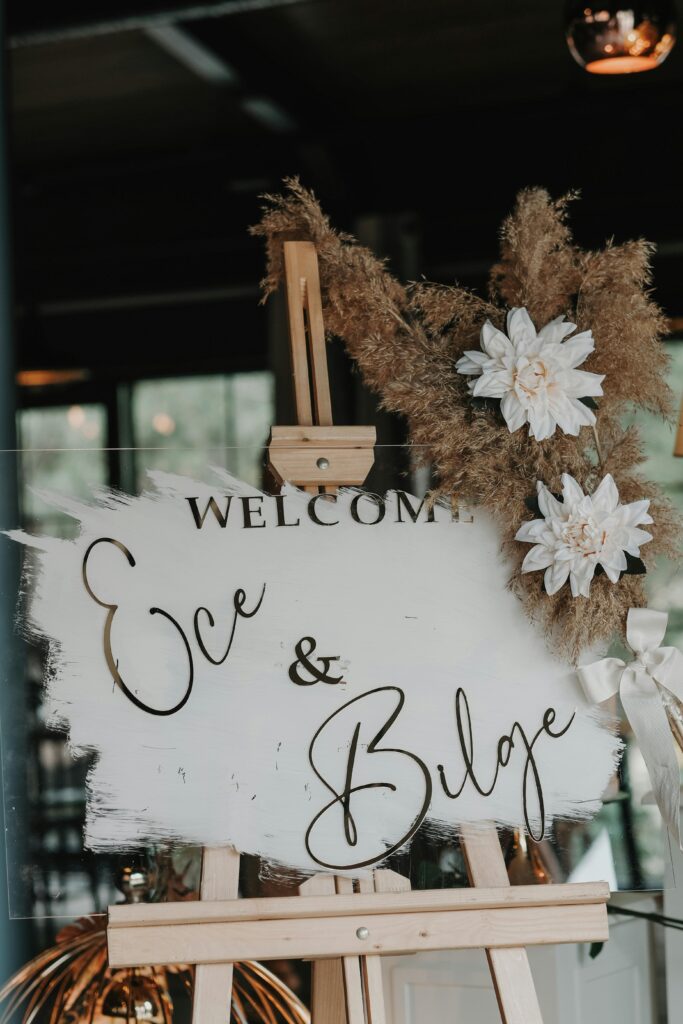
And what better way to make guests feel welcomed than with a beautifully handwritten sign that speaks volumes before a single word is spoken?
Crafting a DIY wedding welcome sign isn’t just budget-savvy — it’s personal. Whether you’re a bride on a mission or a creative soul helping out, adding a touch of calligraphy brings timeless elegance to your big day. And here’s the best part: You don’t need to be a pro to pull it off! With a few tools, the right guidance, and a sprinkle of patience, you’ll create something magical.
If you’re brand new to this and want to dive deeper into the art of hand lettering, be sure to check out my Wedding Calligraphy Guide — it’s packed with tips for beginners and inspiration to get you started.
In this guide, I’ll walk you through everything — from picking the perfect materials to mastering gorgeous lettering, even if you’ve never held a calligraphy pen before. Let’s make your entrance unforgettable!
Essential Materials for DIY Wedding Welcome Signs
Picking the Right Sign Base (Yes, It Really Matters)
Let’s start with your sign base. This is your canvas, and picking the wrong one can wreck even the prettiest calligraphy.
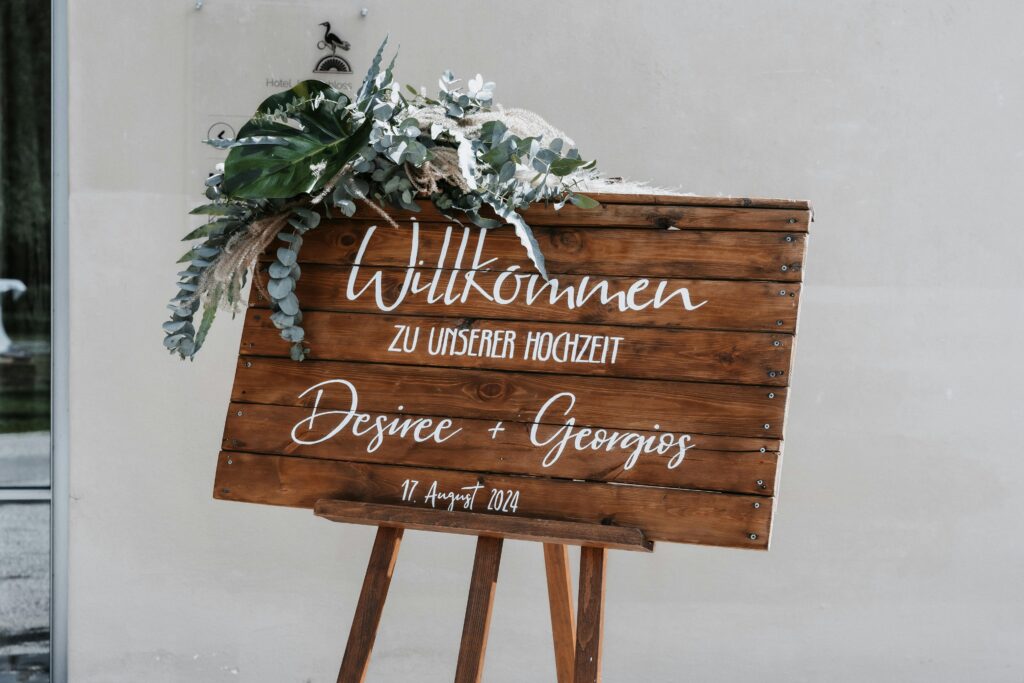
If you’re going for a rustic vibe, go with wood. Pine boards from Home Depot work great — just sand them well and seal ’em if you’re painting over. Pro tip: stained wood looks gorgeous with white ink or paint pens.
Want something modern or sleek? Acrylic sheets are amazing. Get the 1/8” thickness or more so they don’t bend. You can buy pre-cut blanks online or at craft stores. I usually get mine from Etsy sellers who laser-cut them with polished edges (fancy, right?).
Chalkboards are forgiving if you’re nervous — you can erase mistakes! But only use chalk markers, not real chalk unless you want smudgy regret.
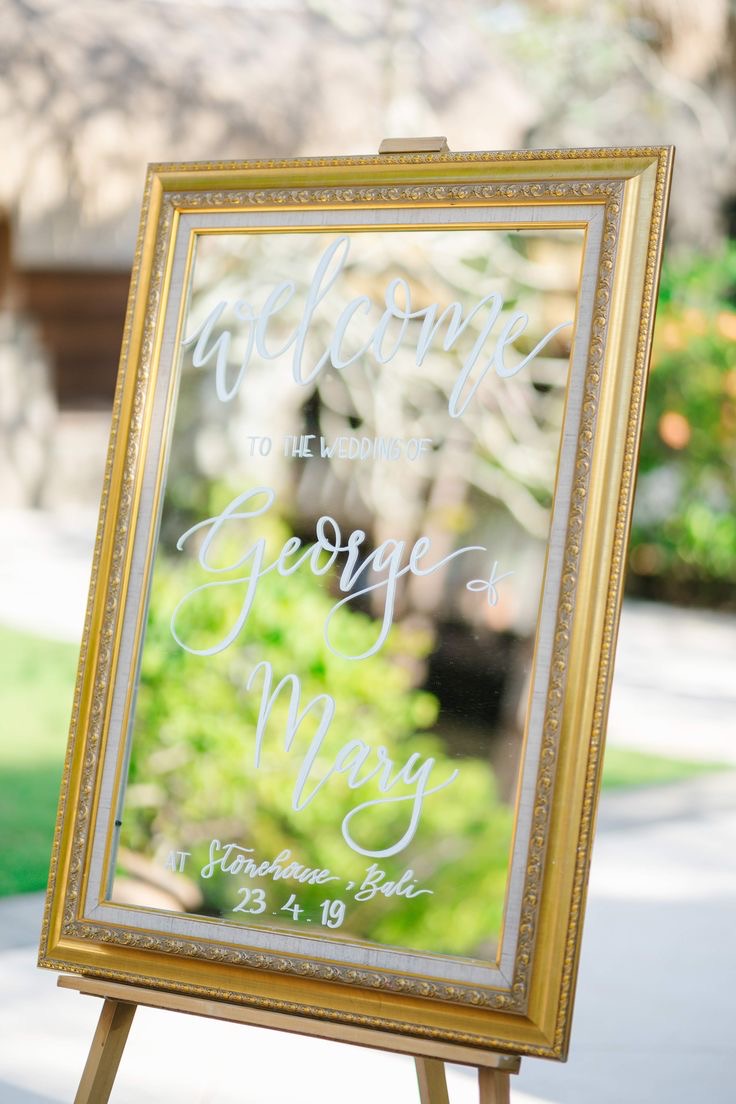
Mirrors look stunning for glam weddings, but you’ll need oil-based markers or paint pens that don’t smear easily. And trust me, cleaning off a smudged mirror with Q-tips in your car before the ceremony is not the vibe.
Best Markers for Every Surface
Choosing the right markers for different surfaces ensures your designs are both beautiful and durable. Here’s the recommended markers and pens for various surfaces:
Uni Posca Paint Markers and Sharpie Water-Based Paint Pens: These water-based markers come in various tip sizes and vibrant colors, ideal for detailed work on almost any surfaces — wood, acrylic, glass, mirror. They offer smooth application and are easier to remove than oil-based marker.
Sharpie Oil-Based Paint Markers: Known for their opacity and durability, these markers are great for bold lettering on wood, acrylic, glass.
Molotow One4All Acrylic Paint Pens: These are durable and provide a glossy finish, ideal for long-lasting signage. Highly opaque and UV-resistant on almost all surfaces.
Chalk Ink Wet Wipe Markers: These markers are perfect for creating detailed designs on chalkboards and can be easily erased.
Artista Pro Chalk Ink Markers: Ideal for more permanent designs, these markers are water-resistant and provide vibrant colors on chalkboard.
Budget-Friendly Hacks That Still Look Amazing
You don’t need to spend a fortune. For wood signs, grab $5 planks from the hardware store and stain them yourself. For acrylic dupes, clear plastic frames from Dollar Tree can actually work — just remove the backing and write on the inside of the front panel. Boom, instant faux-acrylic sign.
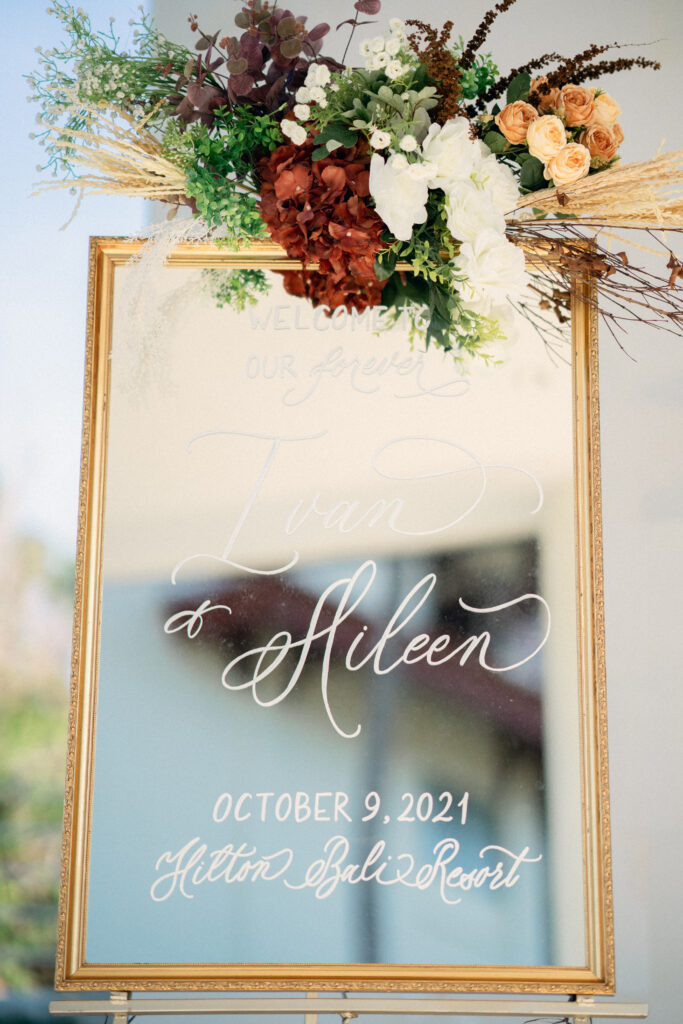
Also — foam board or poster board is super cheap and surprisingly elegant when framed. Add faux florals or a gold frame, and guests will never know it cost under $10.
Other Tools That Make a Difference
Here’s the secret sauce to making your sign look pro-level: planning and prep.
I always recommend starting with a good layout plan. Here’s what you’ll want in your toolkit:
Ruler: For straight lines and centered spacing.
Pencil: Light sketching that can be erased later.
Stabilo All Pencil: Writes on virtually any surface — glass, plastic, metal, paper — and is water-soluble. Ideal for layout lines on tricky materials when you need precision and removability.
Chalk marker: Great for temporary guidelines, especially on dark or slick surfaces.
Painter’s tape: Perfect for marking margins or creating clean edges; peels off without damage.
Graphite transfer paper (optional) : A great tool if you don’t want to freehand your design; just print, trace, and go.
Glass cleaner: Essential for prepping acrylic, mirrors, or glass so markers go on smoothly.
Microfiber cloth or paper towel: Ideal for removing dust, smudges, or chalk residue.
Cotton swabs/Q-tips: Great for quick fixes and detail cleaning.
Beginner-Friendly Calligraphy Techniques
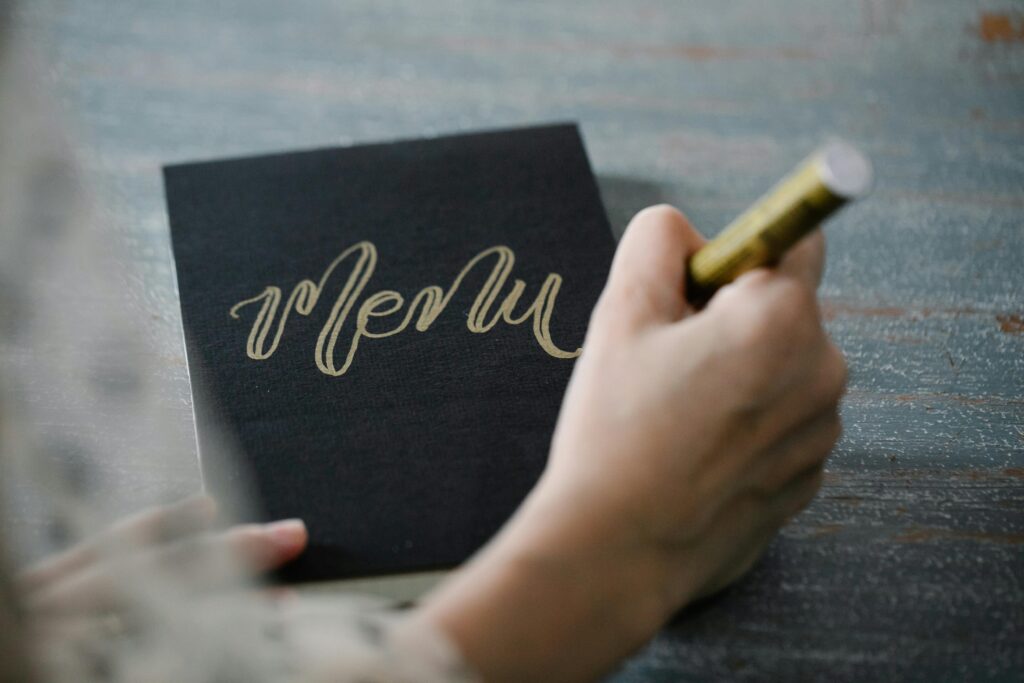
Faux Calligraphy: The Secret Sauce for Total Beginners
If you can write in cursive, you can do faux calligraphy. This is my go-to method when I’m short on time or working with surfaces that don’t play well with ink.
Here’s how it works:
- Write out your word or phrase in cursive using a regular pen or pencil.
- Wherever your pen would naturally move downward, go back and thicken that stroke. That’s it!
- Fill in those thicker lines and bam — instant calligraphy look.
It’s great for all kinds of surfaces where brush pens aren’t ideal.
Easy Practice Exercises to Build Flow
Consistency is everything in calligraphy. The more you practice, the more your hand gets used to the movement — kind of like muscle memory. Here are a few of my favorite beginner exercises that I still do on lazy Sundays with a cup of tea:
- Drill rows: Practice upstrokes, downstrokes, ovals, and loops across a page. I aim for 10 minutes a day, but even five helps.
- Alphabet focus: Pick one letter a day and do 20 versions of it — uppercase and lowercase.
- Word combos: Practice common wedding words like “Welcome,” “Love,” “Forever,” and “Let’s Party!”
Also — You can print out free calligraphy worksheets from Pinterest and trace over them with tracing paper. Super cheap and so effective. You can also buy high-quality calligraphy or lettering worksheets from Etsy or shops run by other lettering artists — they’re usually just a few bucks and so worth it if you want more structured practice. Oh, and don’t forget to stretch your hand every so often. I’ve cramped up more times than I can count. 😬
Planning Your Wedding Sign Layout
Step-by-Step: Planning Text Placement and Hierarchy
Think of your sign like a mini poster. What’s the main thing you want people to read? Probably “Welcome,” right? That should be big, bold, and centered.
Here’s how I usually break it down:
- Headline – This is your main message, like “Welcome to Our Wedding” or “Welcome to Our Forever.” The word “Welcome” is usually the biggest but not always.
- Secondary Text – Names, date, or a short phrase like “We’re so glad you’re here.” Slightly smaller but Names should be bigger.
- Details or Decorative Text – Tiny bits like “est. 2025”, name of your venue or a hashtag — keep these small and minimal.
For sketching, light pencil works great for wood and lighter chalkboards, but for darker or slick surfaces, switch to a white pencil, chalk marker, or regular chalk. I usually reach for a fine-tip chalk marker when I’m working on mirrors or acrylic — it writes super clean and wipes off easily with a damp cloth (just be careful not to smudge it with your hand as you go). Another fave of mine is the Stabilo All pencil — the white or blue one — because it shows up beautifully on glass, acrylic, and other smooth surfaces, and comes off with just a little water.
A Quick Tip: If you’re nervous about sketching directly on the surface, try printing your layout to scale and taping it behind your acrylic sheet. Then just trace over it with your calligraphy pen or paint marker — no need to sketch at all.
Creating Balanced Compositions with Mixed Fonts
Mixing fonts can look so classy — but only if done right. The trick is contrast. Pair a fancy, loopy calligraphy font with a clean, simple serif or sans-serif for a nice balance.
So if you hand-letter “Welcome” in calligraphy, try doing the “to our wedding” underneath in block letters or all caps, and then use calligraphy again for the couple’s names. Not every word needs to be swirly and dramatic — pick one hero font and keep the rest supportive.
Spacing is also key. If your letters are too close, it’ll feel cluttered. Too far apart? It’ll look disconnected. You’ll know it when you see it — just step back and squint at your layout. That helps, weirdly.
What Size Should the Text Be?
Size depends on how big your sign is and how far guests will be standing. For a standard welcome sign (let’s say 18″x24″ or 24″x36″), here’s a rough guide I stick to:
- Main header (like “Welcome”): 3–4 inches tall
- Names and date: 1.5–3 inches
- Smaller details: 0.75–1 inch
If your sign’s going near the ceremony entrance, make sure it’s readable from 5–10 feet away. People shouldn’t have to squint to figure out if they’re at the right wedding.
Templates, Spacing & Layout Tools
For beginners, graphite paper and printed templates are absolute lifesavers. You can design your layout in Canva or Procreate, print it to scale, and then trace it onto your sign using graphite transfer paper — easy peasy and way less stressful than freehanding everything. I use Canva for quick mockups and playing with font combos, and when I want to sketch layouts more freely, I hop over to Procreate on my iPad.
If you want to be extra precise, draw a box in Canva that matches the size of your sign, add your text, adjust the spacing just right, and print it out to use as a guide. You can even find calligraphy guide templates online with baselines and x-height markers to help keep your lettering consistent, especially when you’re tracing onto paper or practicing your layout ahead of time.
If you’re freehanding, use painter’s tape to block off guidelines. I sometimes mark where each line of text will sit using light pencil dots, just to keep things straight. And for consistent spacing between letters? I literally use a popsicle stick or my pinky as a visual spacer. Low-tech, but it works.
Decorative Elements: Less Is More (Usually)
Now, I love a good floral doodle or leafy border. But I’ve learned not to overdo it. If your sign has lots of text, keep illustrations light — maybe a vine under the names, or a small flower tucked in a corner.
I like to draw any decorative elements after I’ve done the text layout. That way, I can fill in the “empty” spots without crowding anything. Also, leave a bit of breathing room around the edges. It just looks cleaner.
For floral-heavy weddings, sometimes I’ll add real greenery or flowers around the frame instead of drawing them. It’s way easier and adds texture without the stress of getting a hand-drawn peony to look like an actual flower.
Step-by-Step to Writing on Wedding Signs
Surface Preparation Techniques for Different Materials
Before you touch your pen to the surface, make sure it’s ready. Different materials (like wood, acrylic, chalkboard, or mirrors) need different prep. For wood, lightly sand the surface to avoid any rough patches that could mess with your ink flow. For chalkboards, wipe it down with a damp cloth to remove any dust, and for acrylic or mirrors, give them a good cleaning with glass cleaner to make sure your pen won’t skip. If you’re working with a terracotta surface, lightly dampen it before writing to help the ink set better. It sounds like a lot, but it’ll keep your lines crisp and smooth.
Sketching Your Layout Before Committing to Ink
I cannot stress this enough: sketch it first! You don’t want to jump straight into the ink and then realize you’ve left no room for the couple’s last name. Use a pencil or chalk marker to lightly sketch your text and any other elements. That way, if you need to make adjustments, it’s super easy to erase or tweak things without any stress.
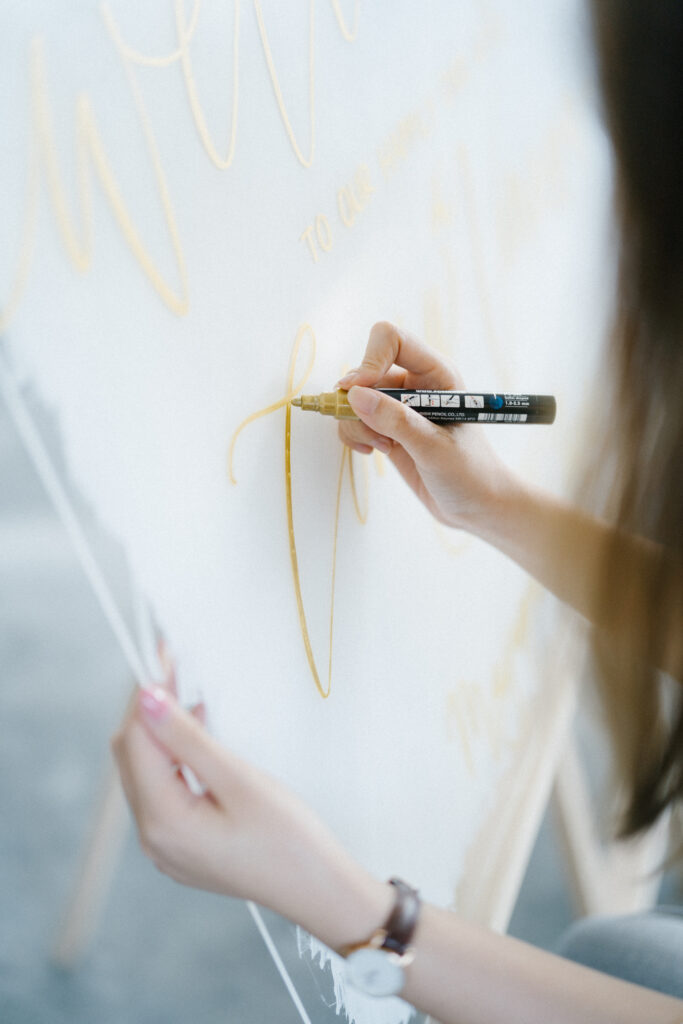
Lettering Your Design with Clean, Confident Strokes
Now it’s time to bring your sketch to life. Whether you’re using a fine-tip paint pen, brush pen, or traditional paint, go slow and steady. Follow your pencil lines with a light hand to keep your outlines clean and avoid smudging. When filling in your letters, use smooth, consistent strokes—always in the same direction (from top to bottom or left to right, depending on the letter) to prevent streaks or uneven patches.
If you’re doing faux calligraphy, this is where your downstrokes get that bold look. Just take your time filling them in neatly for a polished finish.
Troubleshooting Common Issues (Smudging, Uneven Lettering, Mistakes)
Oh boy, smudging is real, especially if you’re writing on a slick surface like acrylic or mirror. My advice? Don’t rest your hand on the surface until everything is dry. Keep a paper towel or a soft cloth nearby to wipe off any accidental marks. If your lettering looks uneven or wobbly, don’t panic. Use a small paintbrush to correct and refine small mistakes. For smudges, wipe them off gently (if you can), or cover the area with some extra paint if it’s a stubborn spot. And if you make a mistake you can’t fix? Just roll with it. I’ve had to embrace “imperfection” a few times — no one will notice!
Finishing Touches to Protect and Preserve Your Wedding Welcome Sign
Once your sign is looking all fancy, it’s time to protect it so it lasts. If you’re working on wood, consider spraying a clear acrylic sealer to lock in your design and add a nice finish. For chalkboards, I recommend using a chalkboard sealer to keep it from rubbing off. If your sign is on acrylic or glass, a light layer of matte spray sealer can protect your lettering. Be careful not to overdo it, though — too much spray can cause your ink to run or smudge.
Eco-Friendly Option for Reusable Signs: If you’re creating a wedding welcome sign on a mirror or acrylic, consider using removable vinyl or glass marker or water-based paint marker like Posca. These options allow you to create a beautiful, reusable sign that can be wiped clean after the event, making it perfect for a calligrapher (or eco-conscious couple) who wants to use the same sign for multiple occasions. After your event, just wipe off the lettering with a damp cloth, and you’re good to go for your next celebration — no waste, no fuss!
Final Thoughts
You don’t have to be a calligraphy artist to create a show-stopping wedding welcome sign — you just need passion, patience, and the right pointers! From choosing your supplies to nailing the final flourish, your DIY sign will be a beautiful reflection of your style and heart. Plus, it’s a fun way to destress and dive into the creative side of wedding planning!
Better yet, it’s a smart way to save on decor without sacrificing style — perfect for couples trying to balance their budget without cutting corners. Looking for more savvy planning tips? Check out our guide on Wedding Stationery: What to Splurge or Save? to make confident, cost-effective choices throughout your big day.
Now, go grab that pen, channel your inner artist, and start creating something unforgettable. And hey — tag your sign on Instagram so we can cheer you on!